
Here is a manual that we have put together to assist in maximizing your training program. Training Peaks is a powerful software that allows for you and your coach to monitor your training, how you are feeling, and track and analyze your progress.
Here’s the catch: It requires you, the athlete, to provide us with the feedback and information we need.
So let’s get started.
Step 1: Sign up for a new Training Peaks account, or link your current Training Peaks account, by Clicking Here
Here is what it should look like via your desktop browser:
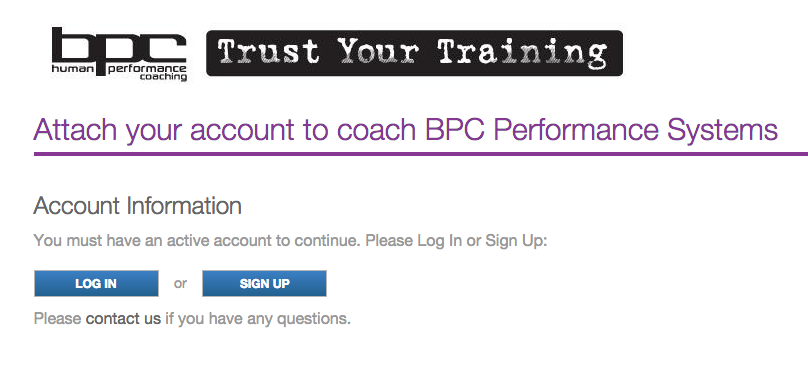
If you already have an account, click LOG IN and put in your information from your current account.
If you do not, click SIGN UP and you will be taken to a page that looks like this:
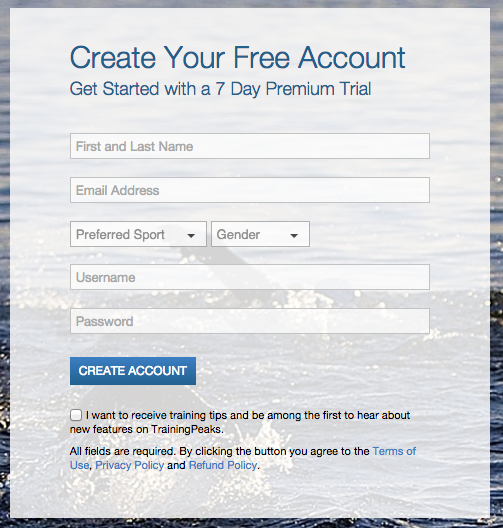
You must use this link in order for this account to be attached to our professional account. This is what is used to deliver your training plan and monitor your progress.
Note: You only need a “BASIC” account. If you want to be able to view all the cool charts yourself, then you can sign up for Premium (once the trial ends) but it is not necessary. We are able to access all the awesome charts via our professional account.
For a comparison of the Basic (Free) vs Premium (Paid) accounts – Click Here
Make sure you use an email address that you actually check. One of the three ways to view your upcoming workouts is via email where you are sent the upcoming two days worth of workouts.
Step 2: Viewing your workouts
There are 3 ways to view. Options 1 and 2 are necessary for uploading comments and “metrics” – more on that in a minute:
- Via your computer online browser by following this link: http://home.trainingpeaks.com/
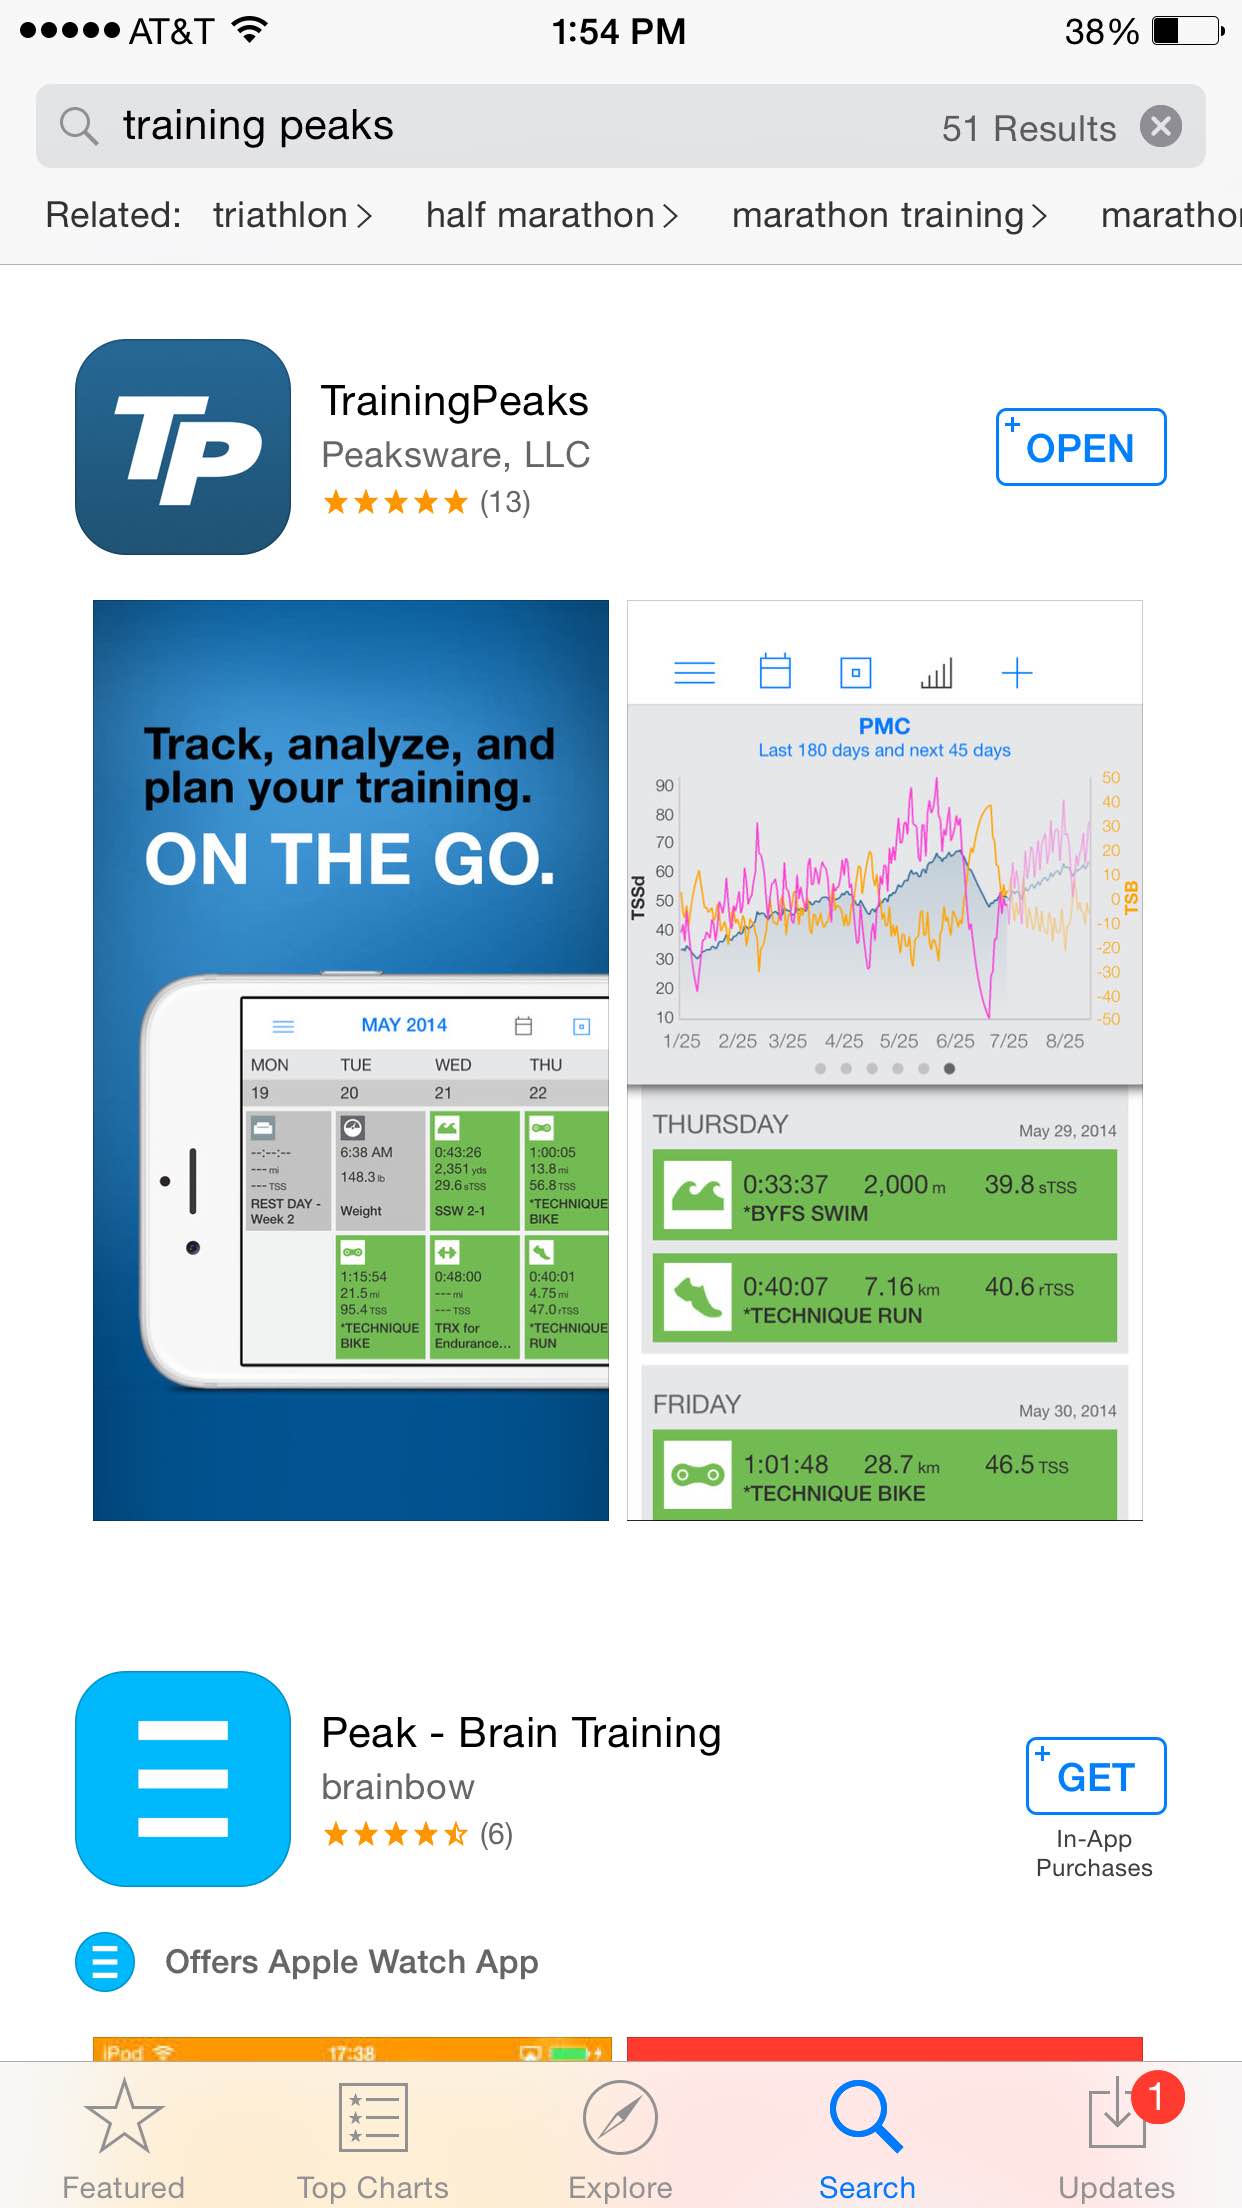
- Via your smart phone by downloading the “Training Peaks App.”
- Via the email address that you have linked to your Training Peaks Account.
Step 3: Viewing your workout details
Online Web Browser (via computer):
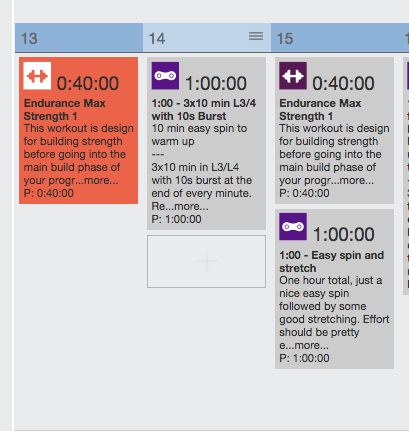
Once you log in, you should see a calendar with small boxes for each day of the week/month. You coach will input planned workouts and it will look something like this:
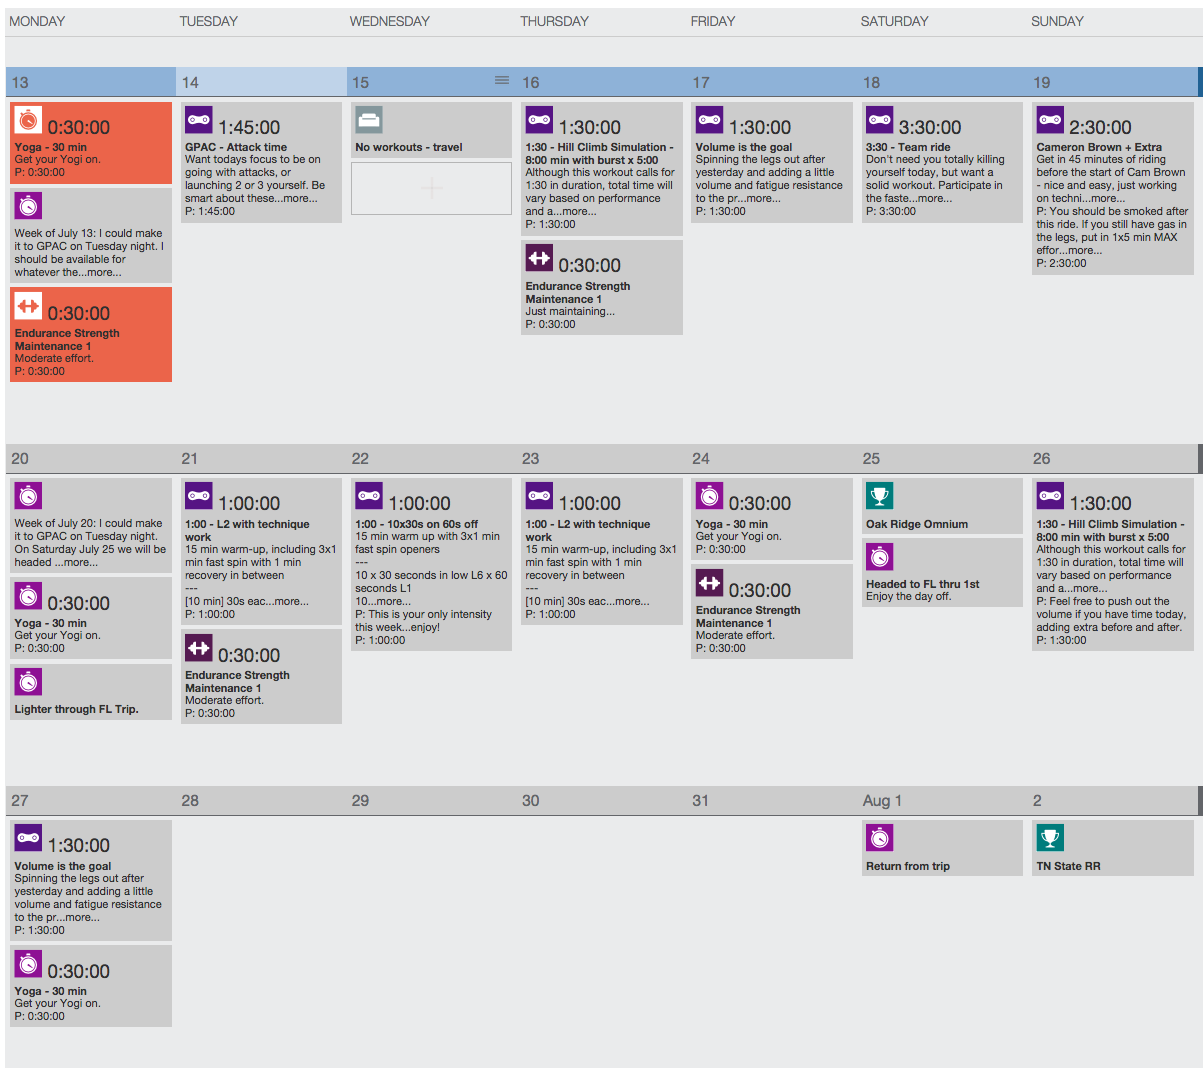
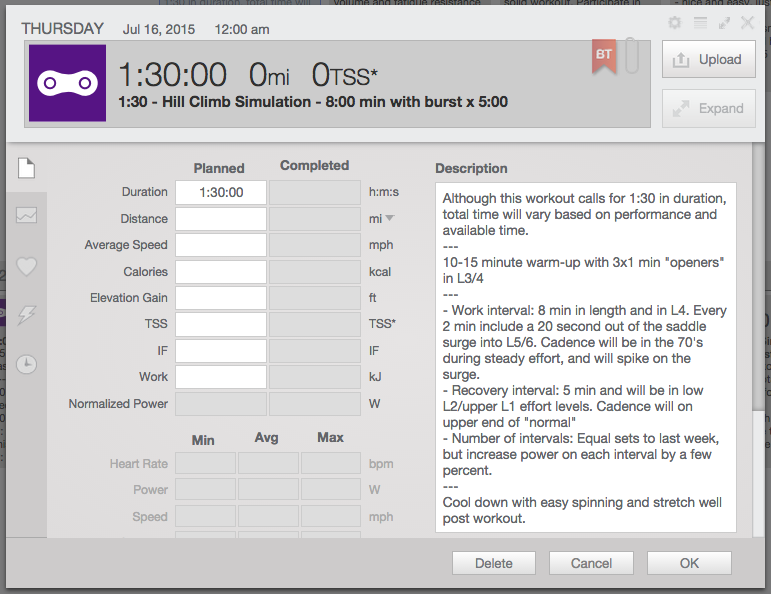
By clicking on any of the workouts, you can view all of the details and comments delivered by your coach (scroll down to view more info once actually logged in). You will also see boxes for “planned” and “completed” data. Here we clicked on the July 16th bike workout.
Step 4: Inputting and Uploading Workout Data
There are 2 ways to upload a workout file from a compatible device (Garmin, Polar, iPhone app, etc. – Click Here to view all devices accepted by Training Peaks).
Option 1: Auto-synching to your current upload software:
If you use Garmin, Suunto, or MyFitnessPal. http://home.trainingpeaks.com/upload and click the appropriate box for the device you own. You will be taken to a page that requires you to “link your accounts” which requires the appropriate login info.
Garmin Users: If you do not have a Garmin Connect account, click here to sign up. You will then need to download Garmin Express in order to have your workouts “auto-upload” to the Garmin Connect account – you can do that HERE. This should automatically upload your workouts to Garmin Connect AND Training Peaks each time your device is connected to your computer.
Option 2: Manual upload of each file:
If you look at the last picture in Step 3 (above), you will see an “Upload” button in the top right corner.
![]() Clicking this button will open up the option to select “files” from your computer. Make sure your device is plugged in via a USB device or you will not be able to find it. Select the appropriate workout and hit “Open” and it should upload your workout.
Clicking this button will open up the option to select “files” from your computer. Make sure your device is plugged in via a USB device or you will not be able to find it. Select the appropriate workout and hit “Open” and it should upload your workout.
If you do not have a device that can be uploaded to Training Peaks, you will need to manually click each box and log as much data as you were able to capture from your workout. Duration is the most important of all of these, so make sure you type that in.
Step 4: Inputting and Uploading Workout Post-activity comments
THIS IS VERY IMPORTANT IN ORDER FOR YOUR COACH TO REALLY ANALYZE YOUR FILES AND WORKOUTS. Sorry for the internet yelling, but this is one of the most important things your coach needs to monitor your progress and properly adjust your training program.
What your coach is looking for:
- How you felt at the start of the workout – “I could feel fatigue during the warm-up” or “Felt great during the warm-up.”
- Anything notable from the workout – “Felt great on the first interval. Manage the same effort for the second interval, but fell apart on the 3rd.” “Really focused on my technique today and noticed I felt best at a higher cadence.” “Did a group ride/run and went way harder than I should have. Blew up at the 50 minute mark.”
- Nutrition during the workout – List when, what, and how much you eat/drink.
- How you felt post workout – “Felt great at the end of the workout and could have added another interval.”
Looking at a workout file only provides so much info. Your coach needs to be able to know how you felt during each effort to really get the full picture. The more you provide, the better it is for your coach and ultimately your progress.
Step 5 – Adding Metrics and Additional Workouts
If you do any workouts other than those that are planned, we’ll want you to create a workout and add it to the program. Put in a description of what you did as well as post activity comments for how you felt. Follow the guidelines to upload data and input notes.
Each morning when you wake up, take a minute or two to add your metrics. This allows your coach to really get the “full-view” of you, how you are feeling, your program, and monitor trends.
To add metrics on your computer, place your cursor below the day’s workout and you will see a light box with + appear. Click the + sign.
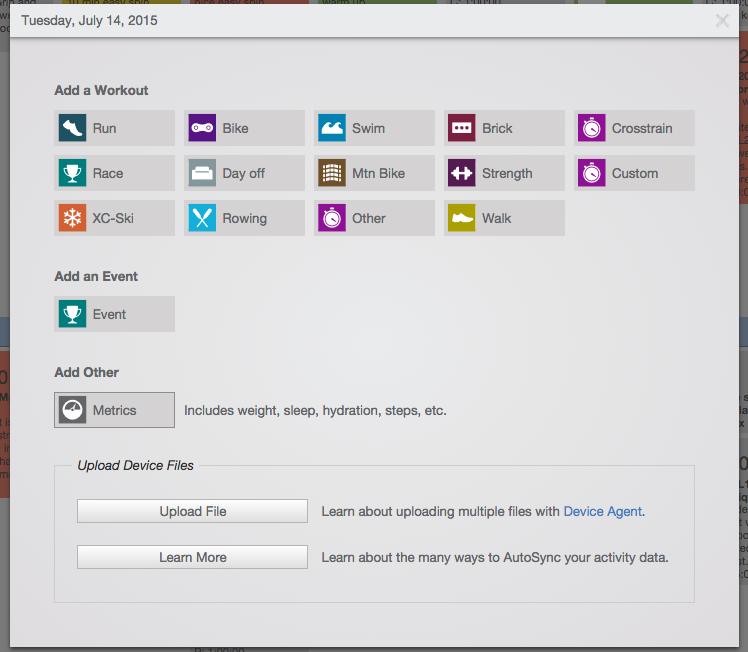
This will open up a box that allows you to ADD WORKOUTS (which we will want you to do if you end up doing any workouts other than those that are planned) and your METRICS. It should look like this:
Click the Metrics button, and then you will see this screen that allows you to quickly input your morning metrics:
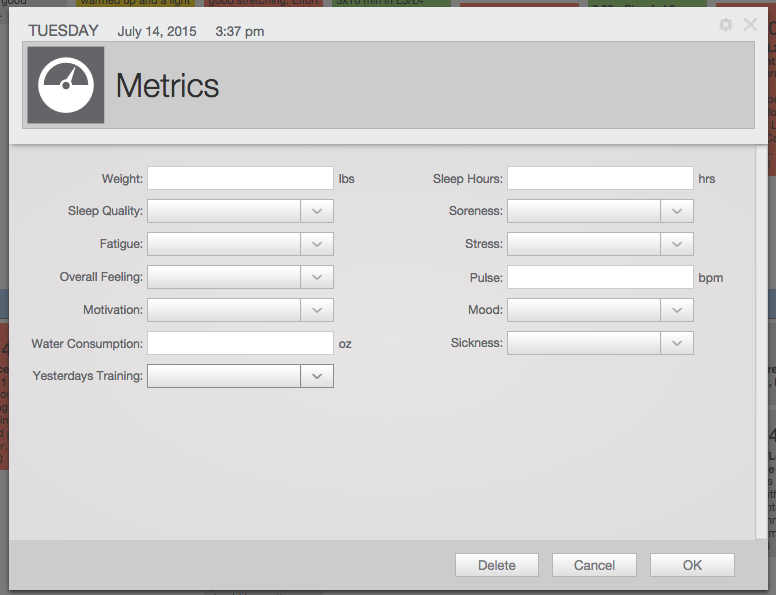
For water consumption, input the previous day’s ounces consumed (or log that at night). If you are able to put in your resting HR, that is a great way for us to monitor fatigue. Just make sure it is taken very first thing, before you even get out of bed. If you have a fitbit or similar device, you may be able to get a more accurate resting HR from you nights sleep.
Mobile Smart Phone App Metrics and Workout Logging:
Tap the light grey space where it says “TODAY” (do not click the workout, that opens the workout description and info box), and it will allow you to add workouts and metrics. It should look similar to this:
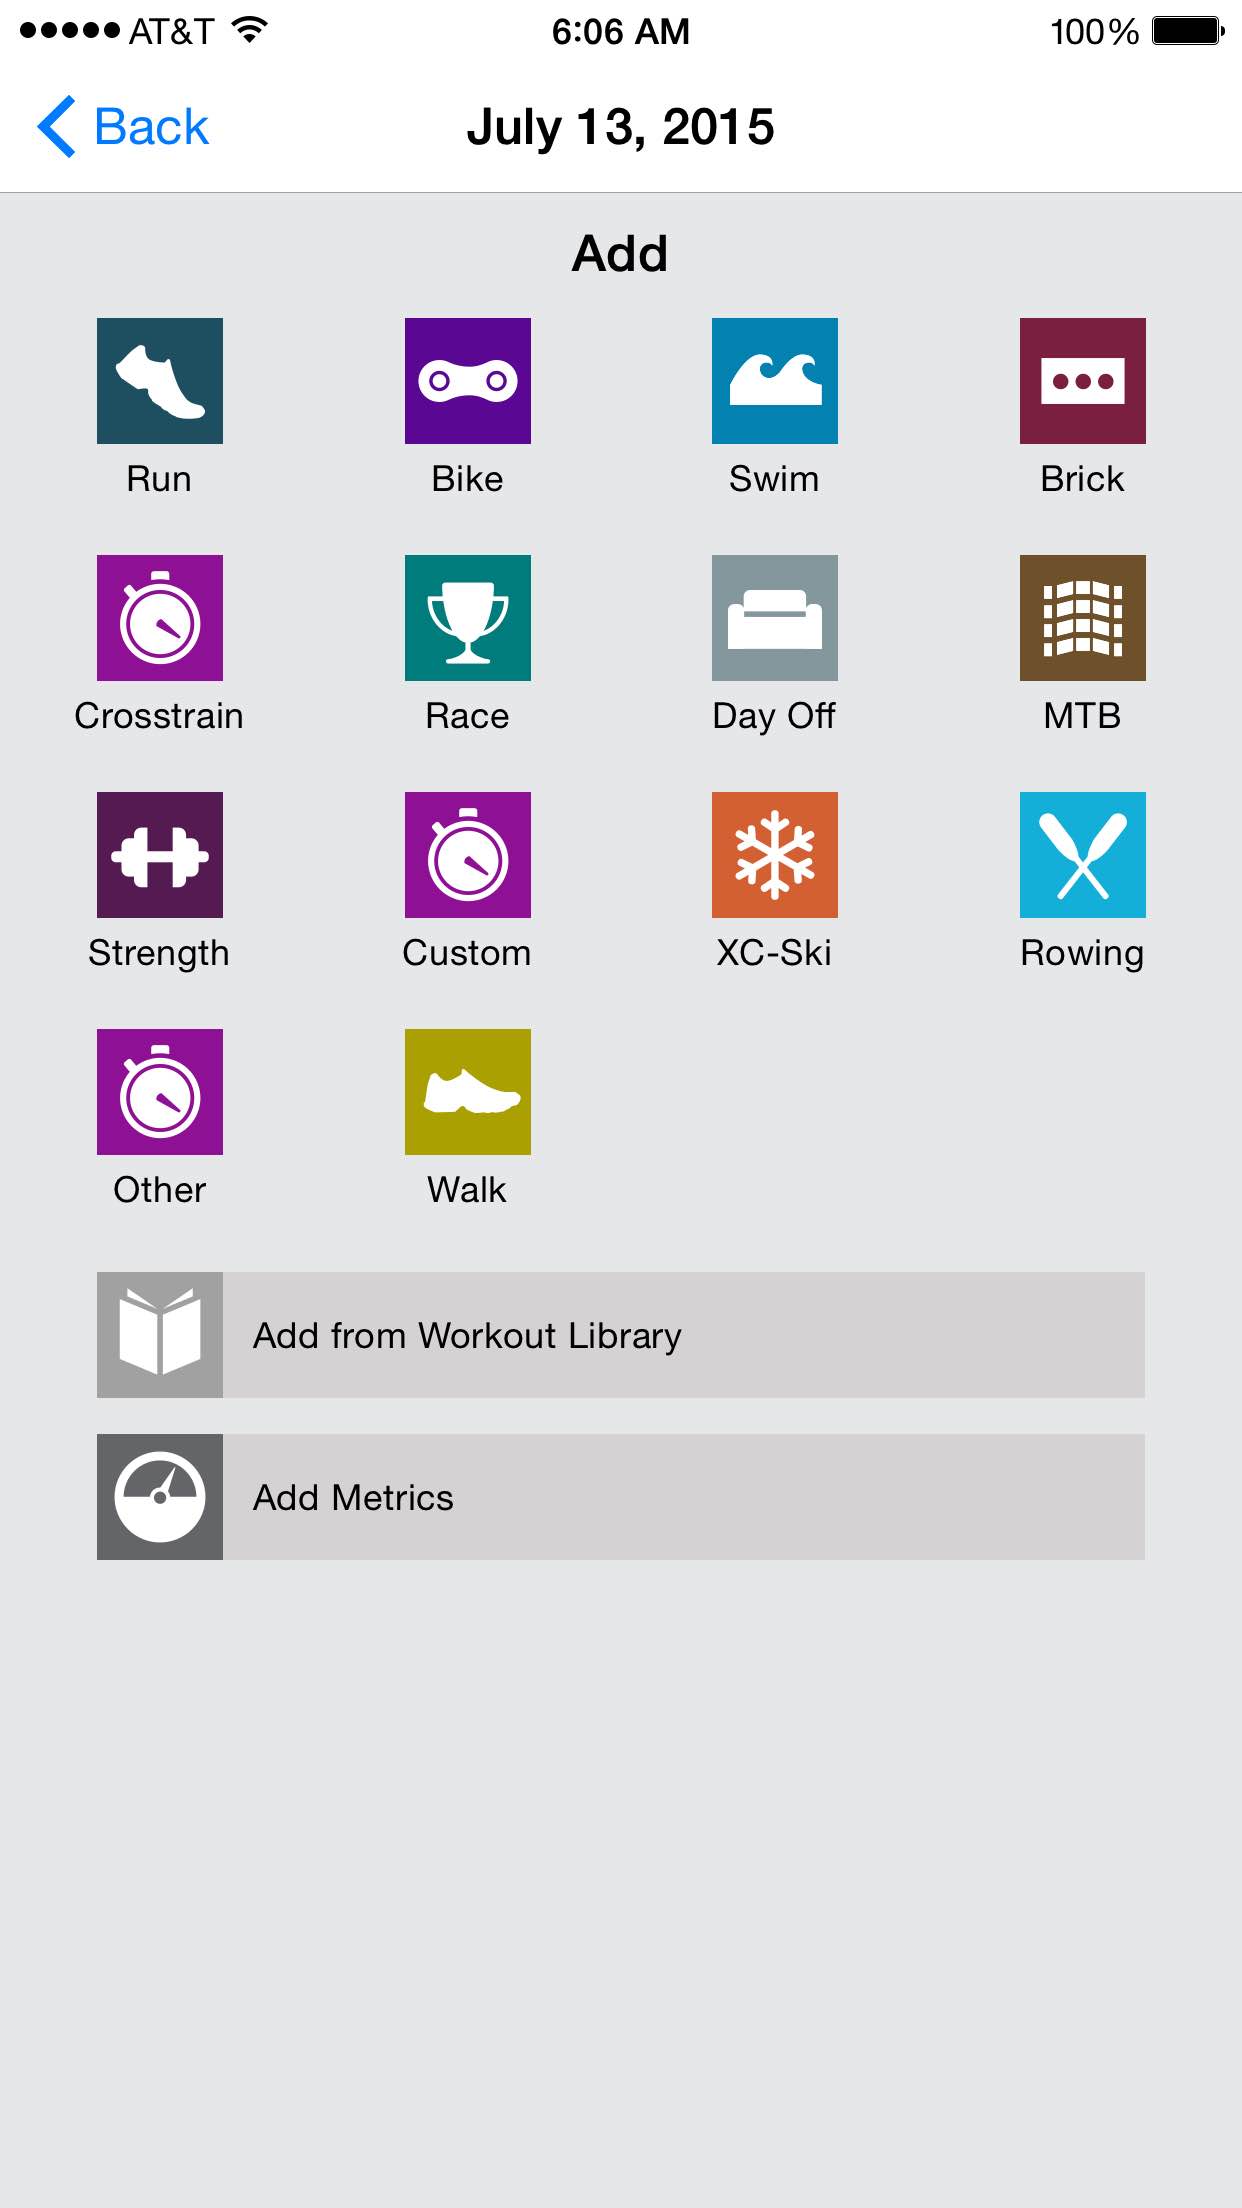
Once you click the appropriate icon, the steps and instructions are similar to those listed above.
That should just about sum it all up. If there are any questions or problems that you come across, or anything that you think should be added to this manual, please just let your coach know.
